Creating an overlay pack for your Twitch channel can greatly enhance the aesthetics and visual experience of your live broadcast. This article explores the simple steps involved in designing an attractive and functional overlay to suit your style and content. Whether you’re new to streaming or looking to refresh your channel’s look, this guide will provide you with the basics you need to create a design that will captivate your audience and reinforce your brand on Twitch.
What is a Twitch overlay and why do you need one?
A Twitch overlay is a set of graphics superimposed on your live broadcast. It includes elements such as webcam frames, information panels, and visual alerts. It enhances the viewing experience, making your channel more professional and attractive to viewers. Using an overlay allows you to structure the video space and promote your personal or thematic brand. It also lets you inform your audience about key details such as social networks or donations.
How to plan your overlay design?
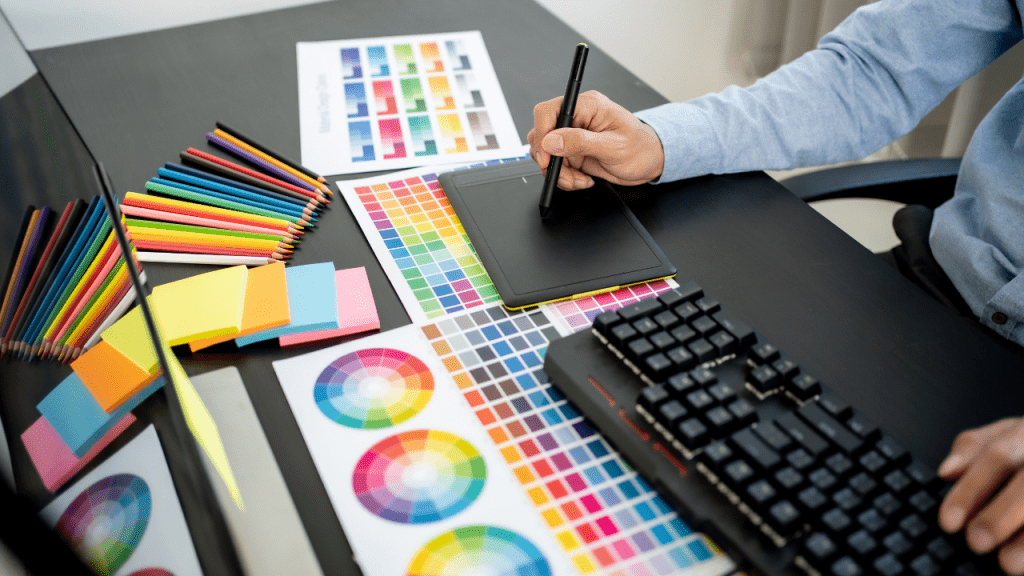
Before you start, determine the style and visual identity of your channel. Choose a color palette that matches your logo or overall theme. Think about the placement of elements on the screen: where do you want to place your webcam, chat information, or new subscriber alerts? Sketch a diagram to visualize how each element will fit harmoniously during your broadcasts. This will ensure visual consistency and make navigation easier for your viewers.
What elements to include in an effective overlay pack?
A good overlay pack usually includes a frame for the webcam, information panels such as broadcast schedules or social networks, alerts for subscribers and donations, and possibly animations to add dynamism. Make sure that each element is clearly legible and does not overload the screen. The goal is to enhance the experience without distracting the audience from your main content. Choose high-quality graphics that reflect your personality or the mood you want to create on your Twitch channel.
What tools should you use to create your Twitch overlay?
To create a Twitch overlay, you can use tools like Photoshop, GIMP (free), or online platforms like Canva specifically designed for graphic design. These tools let you manipulate images, add transparent layers, and export your creations in PNG or JPEG format for direct use on Twitch. If you’re unfamiliar with graphic design, numerous tutorials are available to guide you through the basic steps of overlay creation.
How to integrate and customize your overlay on Twitch.
Once you’ve created your overlay, log in to your Twitch account and access your channel’s dashboard. Use the “Extensions” section to download and install your overlay. You can adjust the size, position and opacity of the various elements directly from the Twitch control panel. Test your overlay live to ensure that everything is working properly and that there are no disruptive elements. Customize alerts and animations according to your preferences for a unique and engaging experience for your viewers.
Vous avez aimé cet article ? Aidez-nous en mettant 5 étoiles !
Your page rank:


